DIY: THE TARDY ADVENT CALENDAR

…
Let it be said that while I may like to tackle more than my fair share of DIY projects – they don’t always turn out the way that Pinterest picture looked and they’re not always done on time. (Like those hutches in my garage that I’ve been refinishing for a month).
Which is exactly what happened with this year’s advent calendar…Or should I say my first attempt at making one ever. Let me make a few things clear first. Santa Claus is real, I revel in all that is Christmas and I’m really into passing traditions onto my children and making the season as all out magical fantabulous for them that I can.
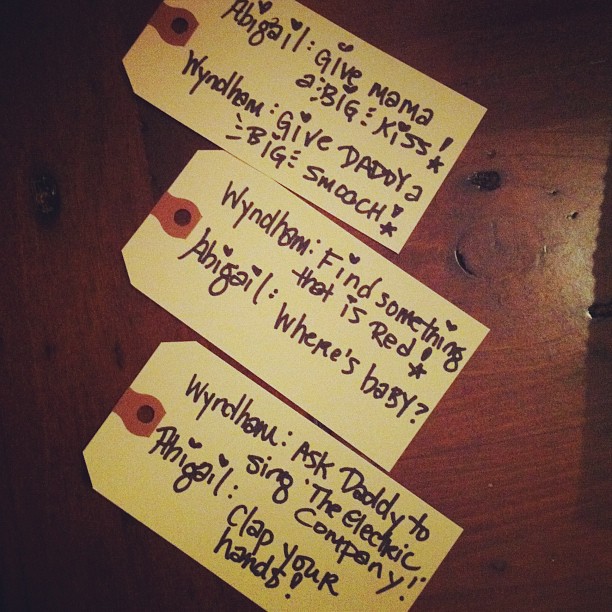
Which is not to say that I plan on spoiling them rotten. I make quite a few of their gifts and the advent calendar that I’m about to tell you about isn’t full of treats and presents. Sure, there’s some of that, but there are also love notes and little treasure hunts ( to find something they already had, or a colour, or a series of simple tasks; and ways to #giveback instructions.)
There are two great things about this whole advent thing. One being that that it’s proved to be the perfect backdrop for some cute holiday card photo opps. I’ve always been a fan of natural candid shots over the posed ones. Second, it doesn’t matter that I got the advent hung up a few days late…I have toddlers! They haven’t a clue about what an advent is! I have plenty of time to get my act together before they start to notice. Right?
As for that easy DIY, the pictures pretty much explain themselves that’s how simple this project is – but I’ll walk you through because, you know – I’m fun like that.

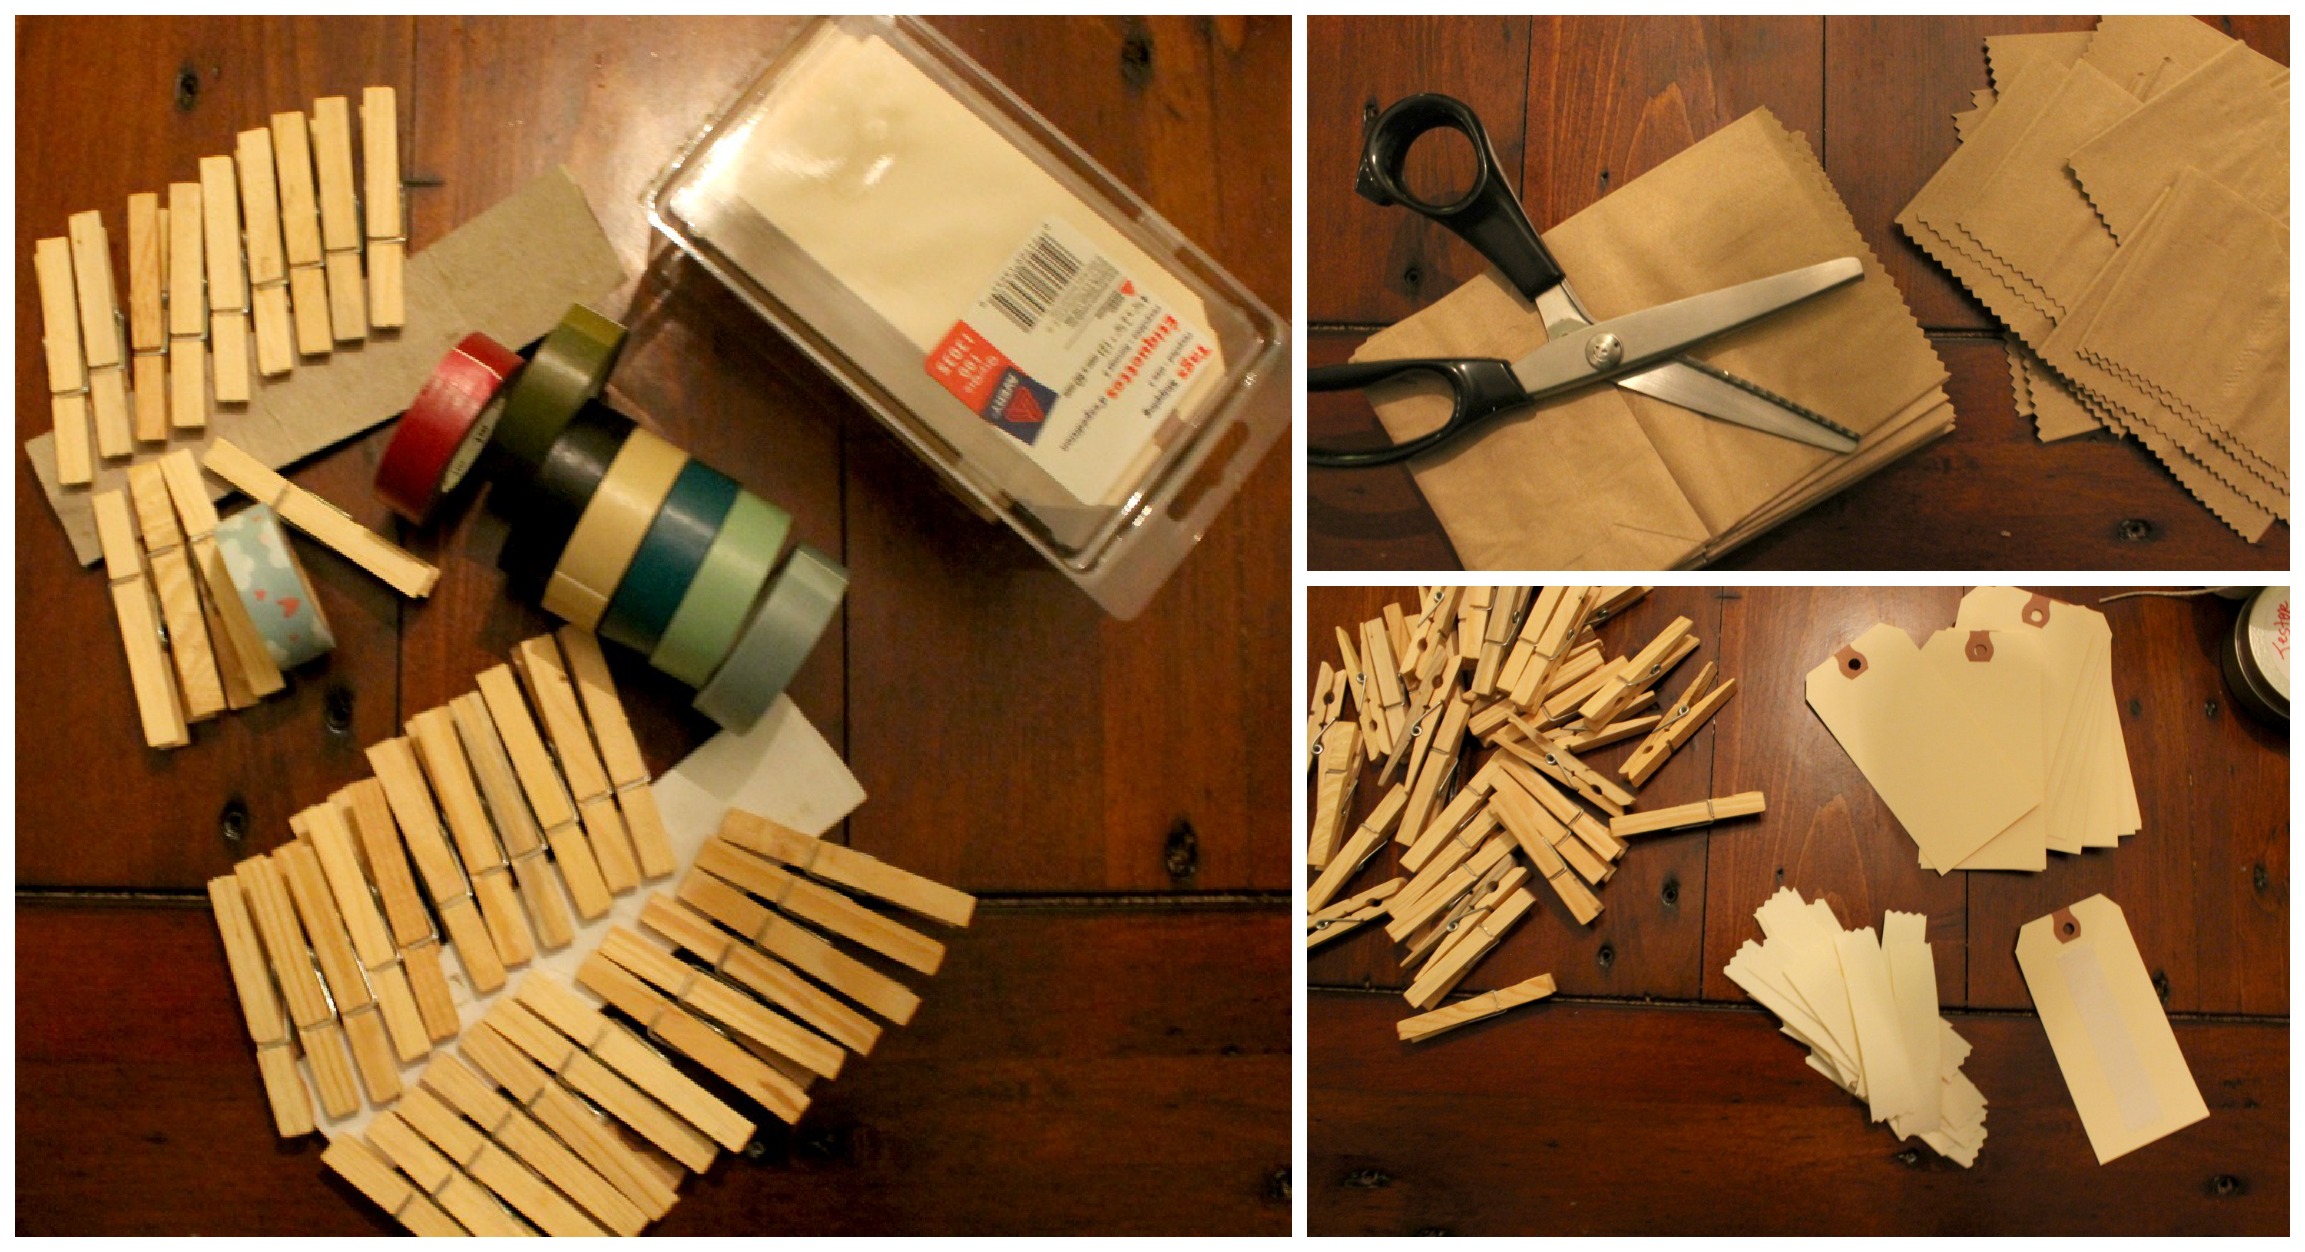
Some of What You’ll Need:
Clothespins
Manilla Labels
Crimping Scissors (optional)
At Least 24 Paper Bags (yep)
Assorted Rolls of Washi Tape (fancy fancy)
Calligraphy Pen
Various Goodies (will be listed below)
Hemp String
Push Pins
How You Do
So the paper bags and some of the little treats were basically all I had to purchase for this project. Given that I’m a crafty wench, the rest of the stuff was already on hand and the only specialty item you might have to go out for is the washi tape. I’ve recently become addicted. I ordered a bunch a couple of months ago for wrapping presents this season. Yes, I am a nerd. Of this we know. Tape. Who cares right? Some people do and I am one of those people is all I am saying.

get it on
Step 1: Basically you draw up your numbers all fancy-like on the mailing labels and adhere and fold your washi tape over one side of each of your clothes-pins. (You know, the part that you are going to show when you hang them up).
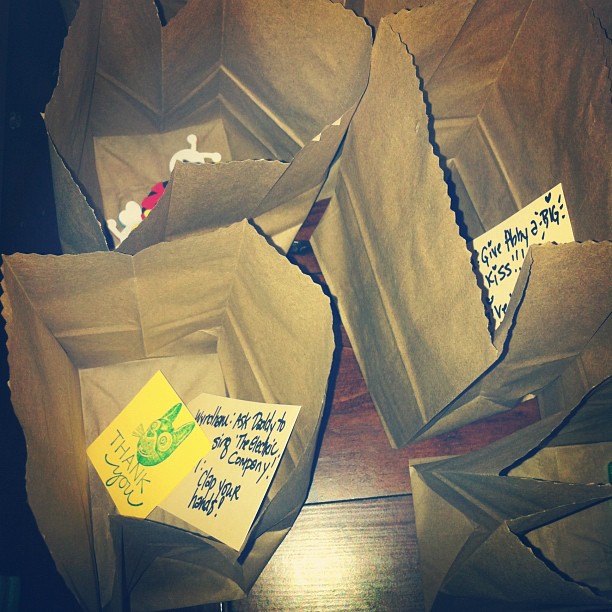
Step 2: Cut about 4 inches off of the top of 24 paper bags to make minis. I used crimping scissors becasue I have them and I like the effect. Open them all up and put a couple of trinkets in each. (I did 2 per bag as we have 2 little ones).
What’d I Put in Those Bags?
Found objects around the house, little treasure hunt instructions (befitting for a toddler, see picture below) mini Santa chocolates, mini play dough, stickers, bangles, matchbox car, loonie chocolates and mini bubbles. Most of the purchased items are from the dollar store, I didn’t spend more than 10 bucks.

It’s Not all About the Treats & Presents #giveback

remember to say thank-you
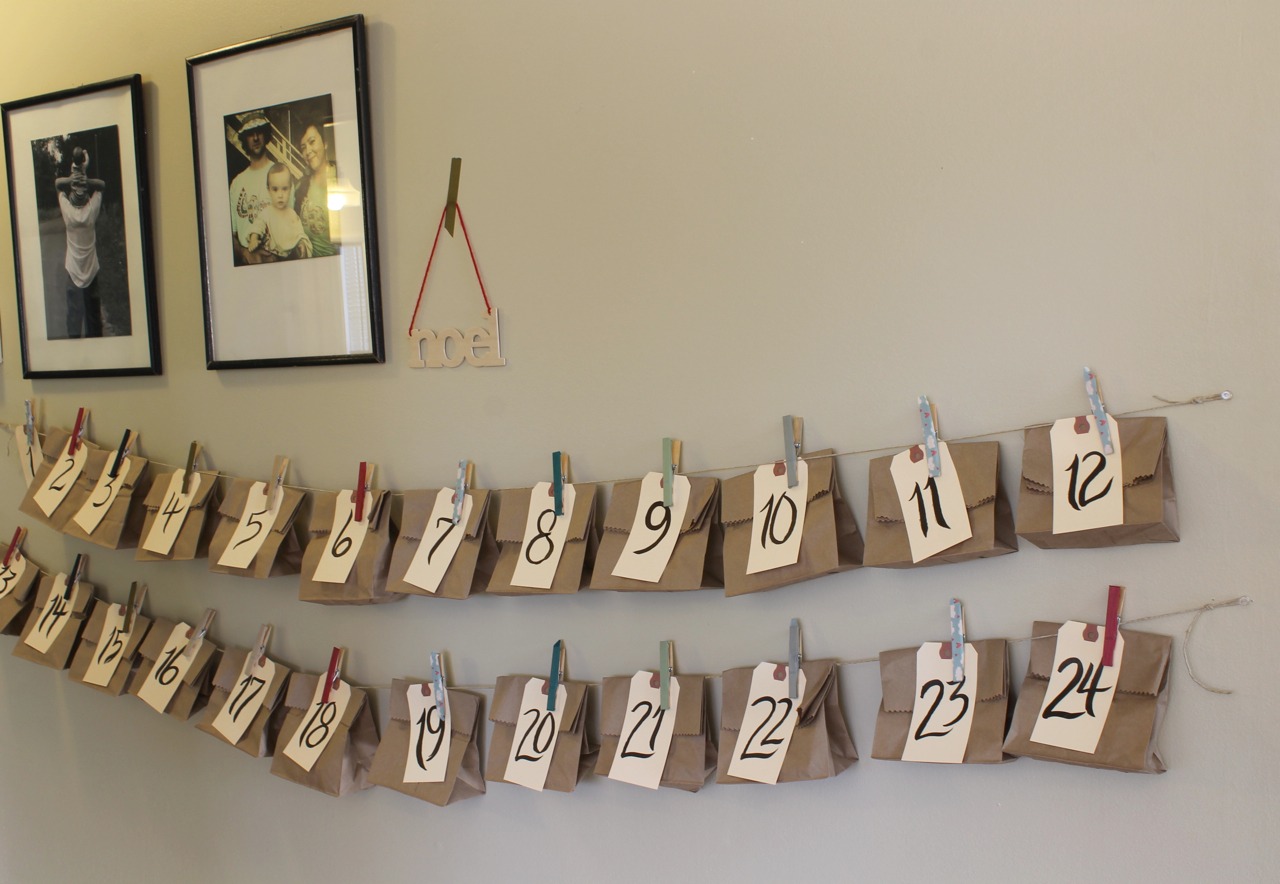
Step 3: That’s right…fold them over to show off that pretty crimped edge and clothespin those suckers closed. You are ready for hanging. I’m not one to be all bossy – but you should probably be sipping on something festive at this point. If you are not then you are missing the point of all of this. JOY. Tralalalala.

the line-up
Step 4: The hanging part might go better if you enlist he/she who parents with you if you have one of those around. Find a space on the wall where you don’t mind making tiny, near invisible push pin holes, cut two long lengths (two rows look way better – 12 and 12, ya feel me?) of your hemp string and loop an end of the first one and push pin through that little loop on your makeshift line into the wall. Pull nice and taught across the wall, the approximate length that 12 bags will take up. Eyeball this. You’re going to end up fiddling and playing around with a bit anyways.
Step 5: Hang the first row (12 bags) starting with #1 and ending in #12 – genius, I know!
Step 6: Repeat Step 4 & 5. Et voila. You are done. Stand back and admire. Pat yourself on the back. Feel like a good mama and pappa. Whatever. If you are doing this project, chances are you are just that. Because look.

…

new traditions

the cute

more cute
So clearly now you can see why I’m going to use a couple of these photos for our Holiday card picture collages. I’m going with something flat and horizontal. I probably won’t use one of these designs – (I have my own layers!) so I’ll just go with a blank template and have something merry printed on the back. Or not. Haven’t decided yet – but I’m on these later tonight after the kiddos are in bed!
Disclaimer: This post was sponsored by Vistaprint I’m working with them because because they are nice and I love photo gifts. This is nothing new.


